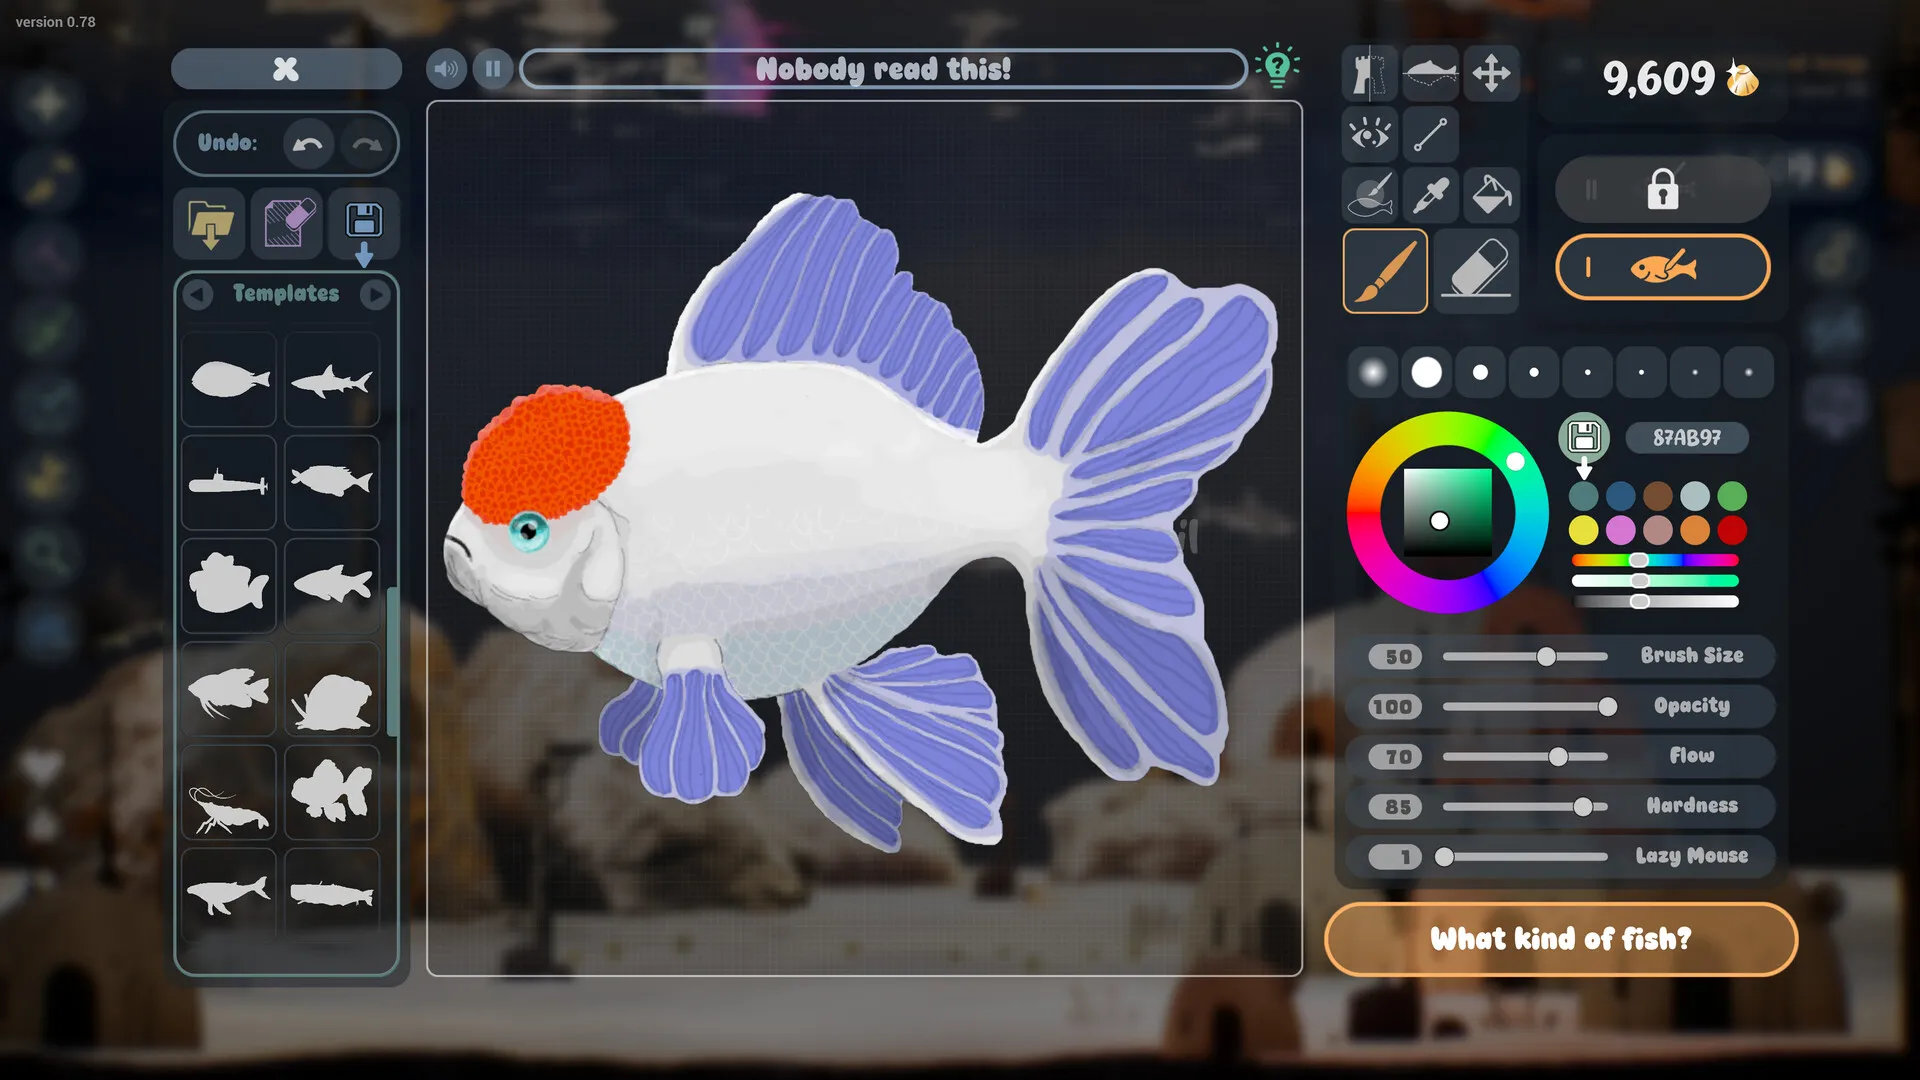
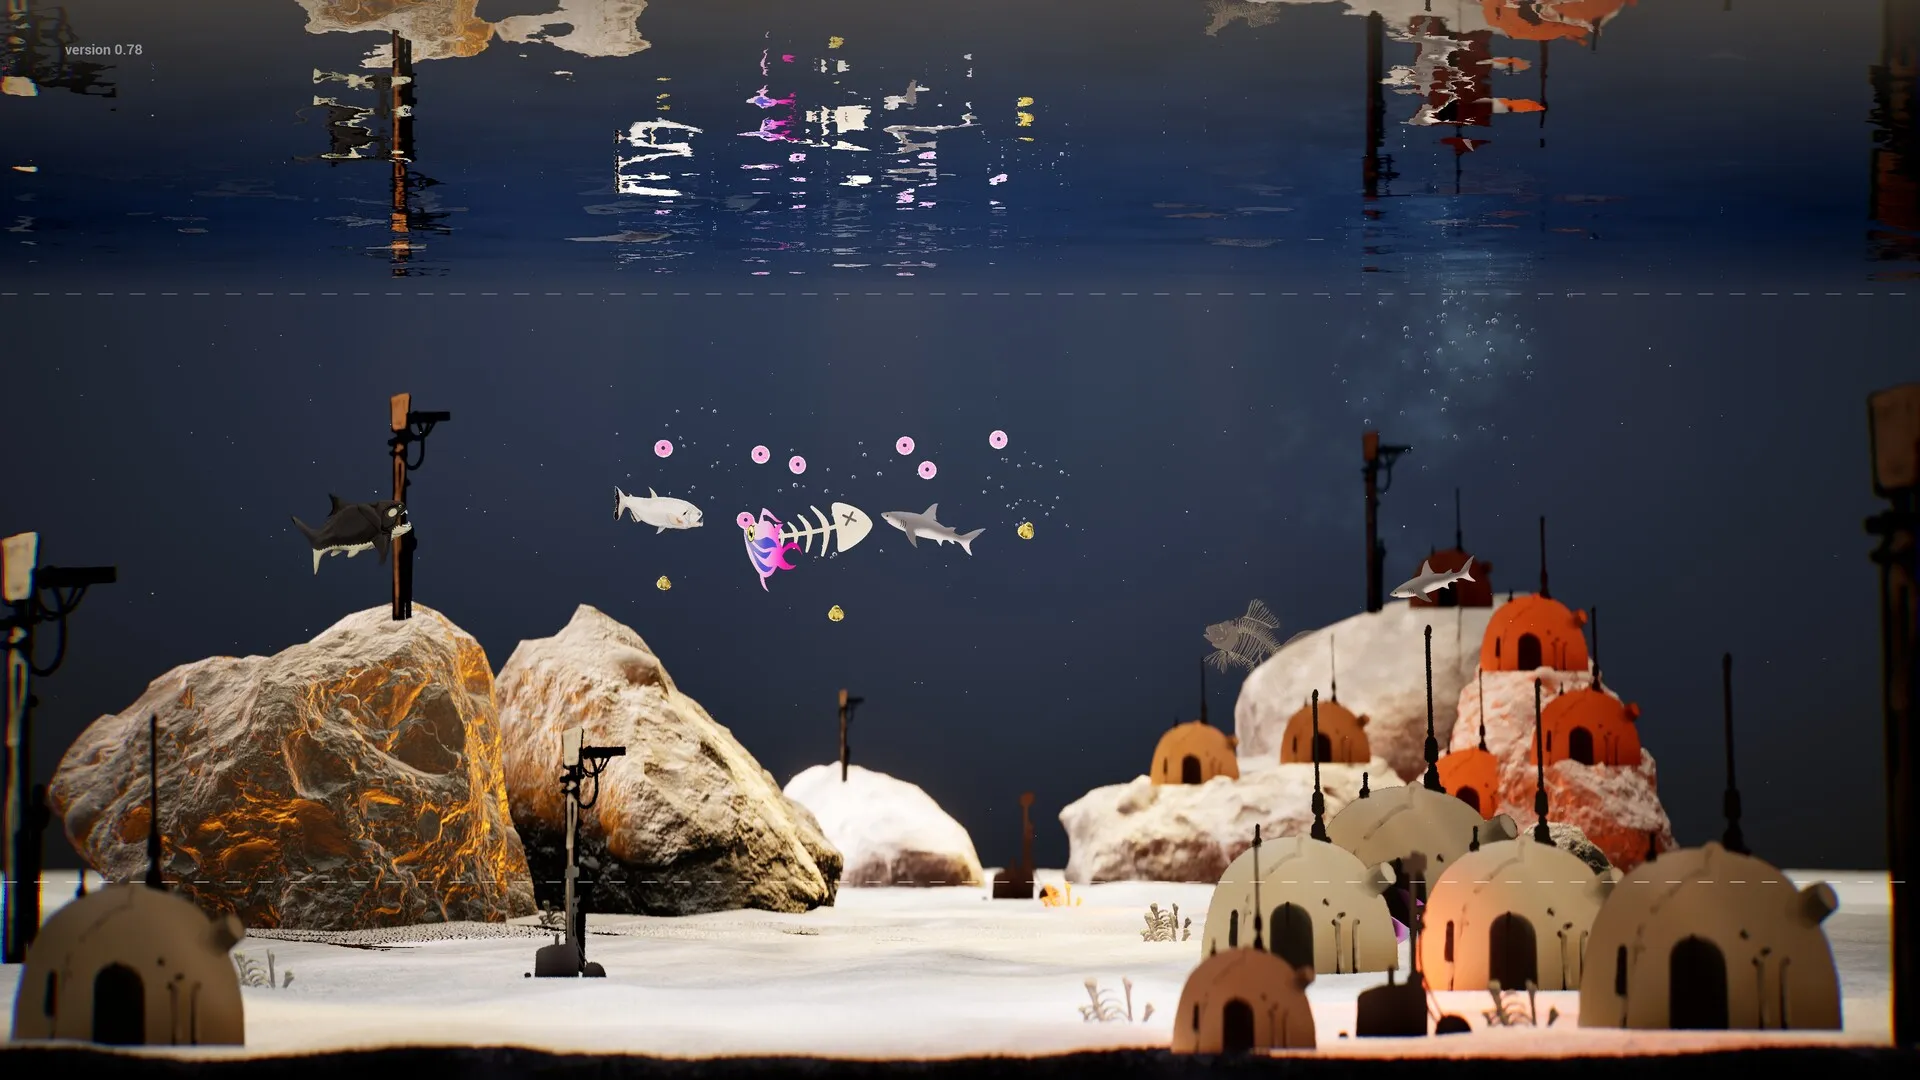
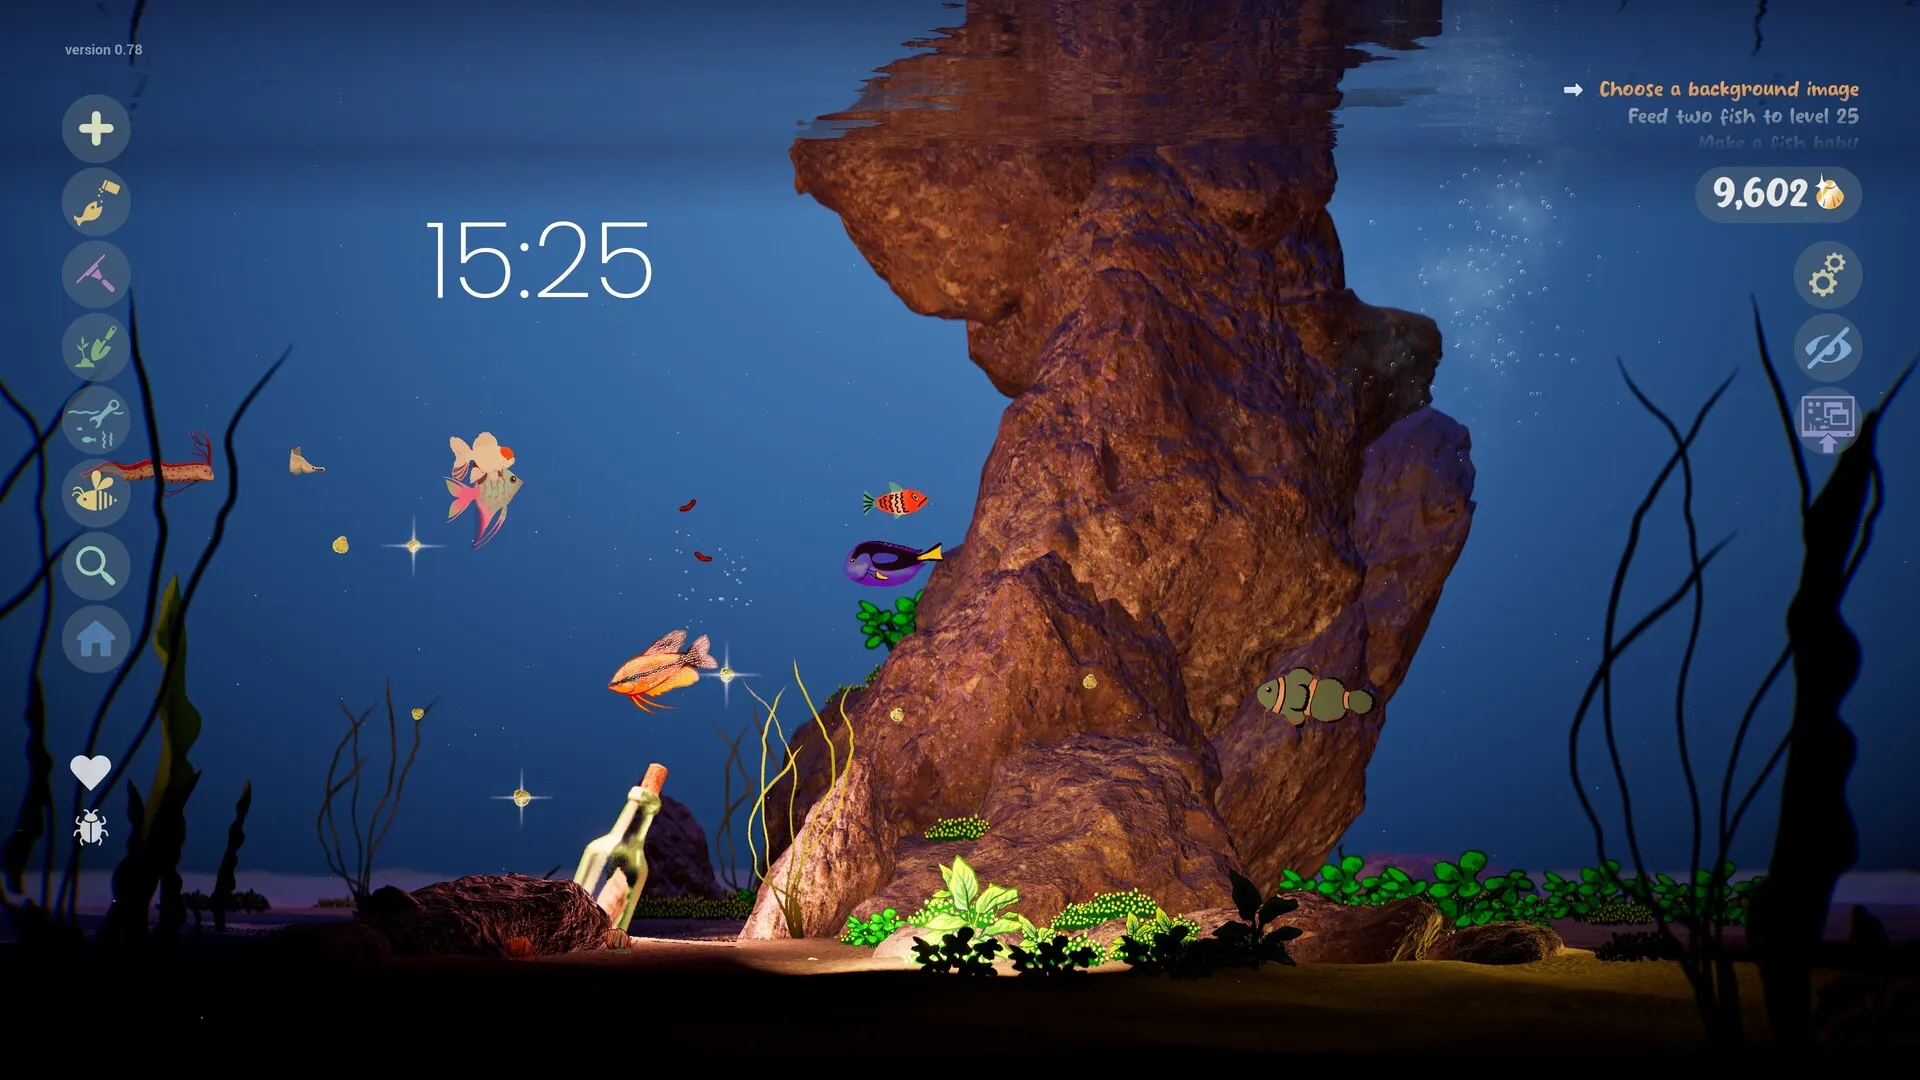
Drawing & creating
How to import a PNG into Drawquarium (size, transparency and kids’ drawings)
Importing a PNG is the fastest way to put a real drawing, a child’s artwork or a polished digital fish into Drawquarium. The developer has published the important numbers; the rest is preparation.
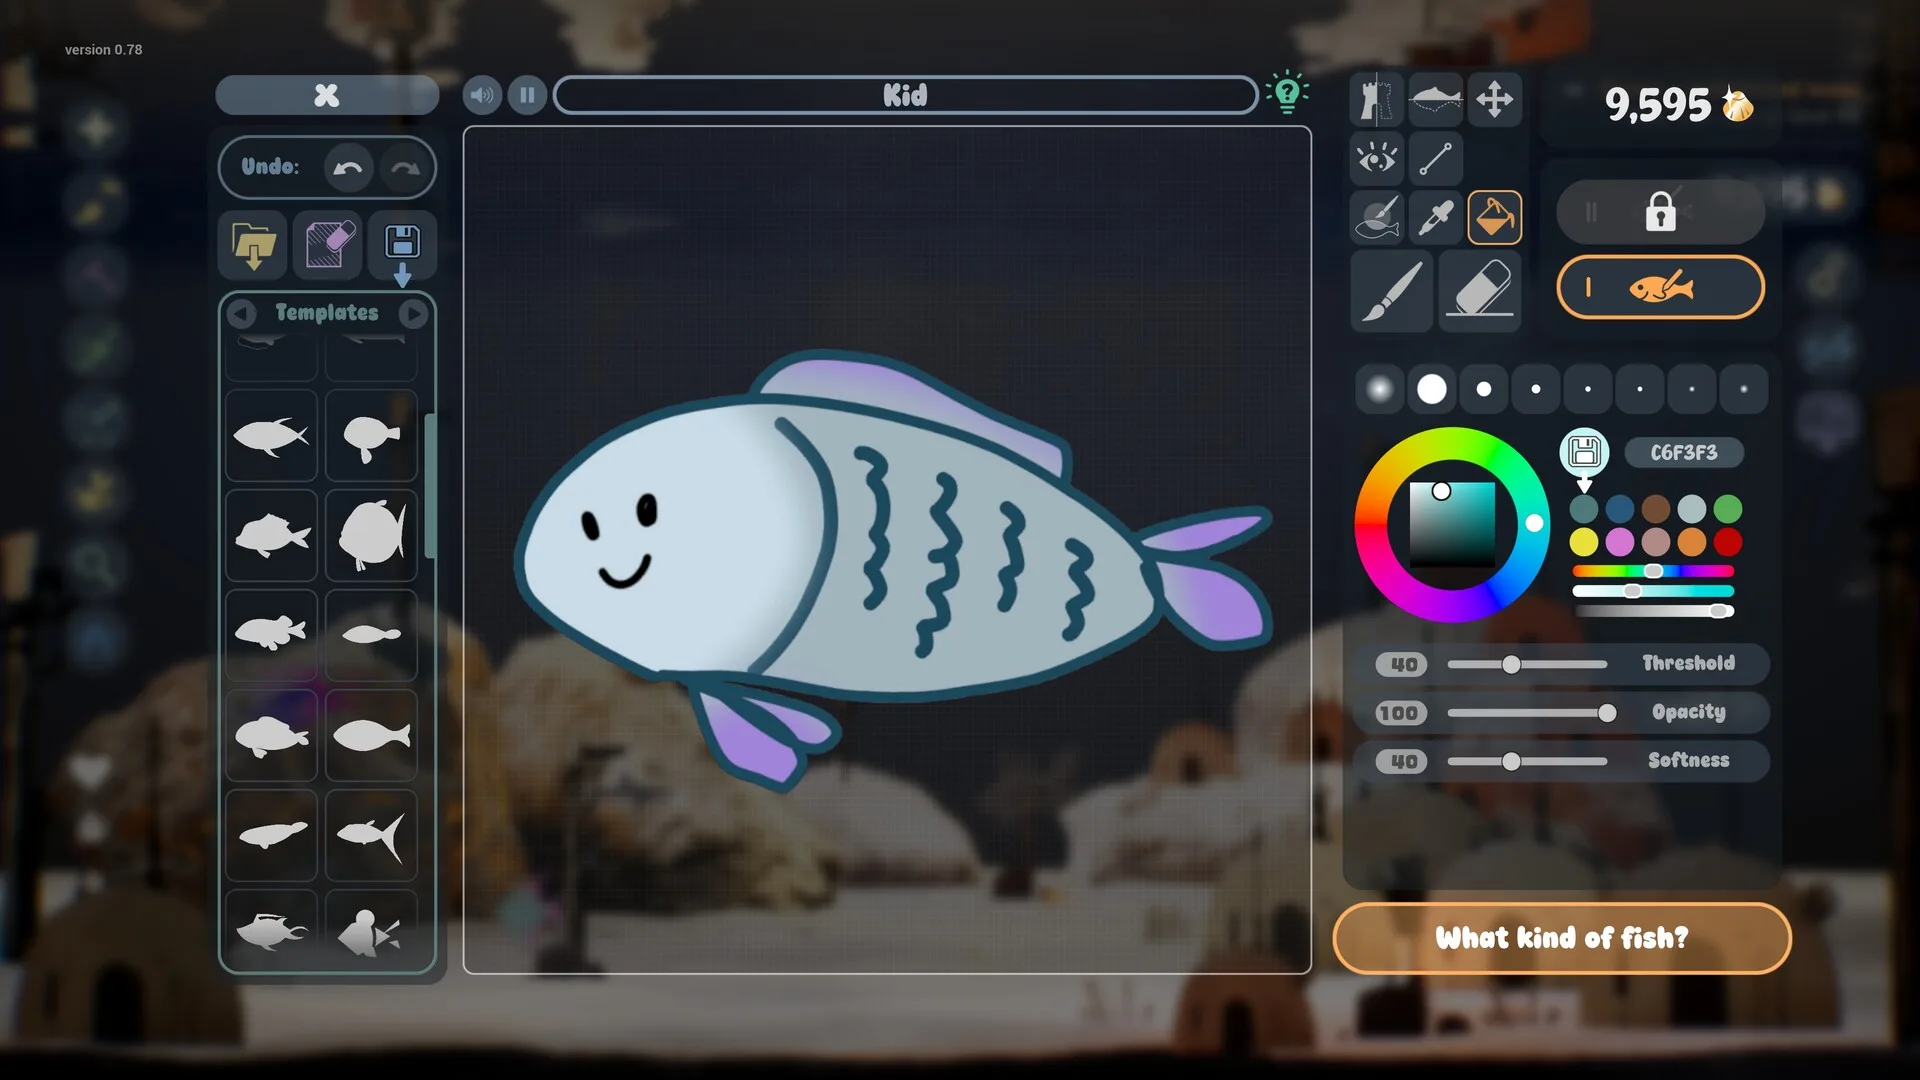
Drawquarium is built around drawing inside the game, but it also accepts your own images. The developer’s FAQ says images are imported as PNG and recommends 850 × 850 px for a large fish texture. That one sentence answers most of the search questions. The rest of this guide is the workflow that makes the import look like a fish instead of a floating rectangle.
The short answer
| Question | Answer |
|---|---|
| Format | PNG |
| Suggested size | 850 × 850 px for a big fish |
| Background | Transparent for a cut-out shape |
| Layers | None; use the masked brush instead |
| Kids’ drawings | Yes, via photo/scan → PNG |
| Built-in ready-made fish | Also available if you do not want to draw |
Size and transparency
The 850 × 850 guidance is a texture size, not a rule that every fish must be square. A square canvas gives the game room to map the drawing onto a swimming body; the fish itself can occupy the middle of the canvas with empty transparent space around it.
- Start at 1024 × 1024 if you are unsure. It gives you room to crop and still lands near the suggested size.
- Use transparent PNG. White paper will render as a white block. Remove the background before importing.
- Keep the fish centered and upright. Leave a little padding on every side so fins do not touch the canvas edge.
- Do not upscale a tiny image. A 200 px drawing blown up to 850 px will look soft in the tank.
- Flatten overlapping parts yourself. There are no layers in the game; eyes, fins and patterns need to be part of one image.
Import step by step
The exact menu label can change between builds, so follow the editor’s import option rather than a memorised click path. The preparation is stable:
- Draw or export your fish in any app that can save a transparent PNG.
- Crop tightly to the fish, then add a small transparent margin.
- Check the edges at 100% zoom. Stray pixels become visible halos in the tank.
- Save as PNG with transparency enabled.
- Open the Drawquarium editor and choose the import option for a new fish.
- Name the fish before it goes in. You cannot rename a fish once it is alive; clone it or re-import its texture if you need a new name.
- Adjust size and behaviour if the editor offers those controls, then place it in the tank.
Turning a paper drawing into a PNG
The game explicitly mentions bringing a child’s drawing into the aquarium. The practical workflow is the same one you would use for any paper artwork:
- Use a plain white sheet and press it flat. Avoid ruled paper if you can.
- Photograph from directly above in even daylight. No flash; no shadow across the drawing.
- Crop to the drawing and straighten the edges.
- Remove the paper background. A simple “remove white background” tool or the magic wand in any editor is enough.
- Clean up stray marks around the outline, then save as a transparent PNG.
- Name it together before import. The name is permanent after the fish is alive, which is a good moment to let the child choose.
For a family session, keep the original paper drawing. The PNG is the game asset; the paper is the keepsake. Our kids and family guide covers sharing and safety around the Community Gallery.
When the import looks wrong
- A white box around the fish: the PNG still has a background. Re-export with transparency.
- The fish is blurry: the source is too small. Redraw at a larger canvas, around 850 × 850.
- Part of the fish is cut off: the artwork touches the canvas edge. Add padding and re-export.
- The fish looks flat or stiff: simplify the silhouette. Large shapes and a clear eye animate better than thin lines.
- The colors look dull: check the source’s color profile and avoid heavy compression. PNG is lossless; use it instead of JPEG.
- The fish is the wrong size: adjust its scale in the editor if available, or re-export with more transparent margin.
Editing after import
Imported art is a texture, not a layered project. If you want to change a fin later, edit the original PNG and import
it again as a new fish. The developer warns against renaming texture files by hand. If you delete an aquarium with
fish in it, the fish are gone, but the developer says the textures usually still exist in the game files; a file ending
in something like png_byebye can be renamed to .png and imported again. That is a recovery
trick, not a backup strategy — keep your source art.
Import FAQ
What image format does Drawquarium accept?
PNG. The developer’s FAQ says you can import your own images as PNG and suggests 850 × 850 px for the texture of a large fish.
Do imported images need a transparent background?
For a fish-shaped cut-out, yes. A PNG with a white paper rectangle behind it will show that rectangle in the tank. Remove the background in any image editor before importing, or use a transparent PNG exported from a drawing app.
Can I import a photo of my child’s drawing?
Yes. Photograph or scan the drawing flat and evenly lit, crop to the drawing, remove the paper background, and save as a PNG. The game explicitly mentions bringing children’s drawings into the tank.
Does Drawquarium support layers?
No. The developer recommends the masked brush instead. Prepare overlapping parts in your image editor before importing.
Why is my imported fish blurry?
The source image is probably smaller than the fish’s on-screen texture. Start with a larger canvas, around 850 × 850 for a big fish, and avoid upscaling a small phone image after the fact.
Advertisement
Sources for this page
Checked November 16, 2026Listed claims on this page were checked against the records below. If a detail is not in these records, it is labelled as unconfirmed rather than presented as fact.
- 01 Drawquarium FAQ (developer thread) — rokaplay / Steam Community (developer)
Pinned November 10, 2026 FAQ, rechecked after launch: demo fish and aquariums carry over, no achievements yet, Linux/Steam Deck not officially supported, PNG import guidance (850×850 for a big fish), no layers, pressure settings, zoom and colour shortcuts, clone instead of rename, plants unlock from a ground fish, pause while drawing if it slows down, and how to leave feeding mode.
- 02 Drawquarium on Steam — Valve / byKaleb / rokaplay
Store description, release date, languages, features, requirements, tags, bundles and platform list. Checked November 16, 2026: released November 13; $9.59 with a 20% introductory offer ending November 27; Steam Deck Playable; 17 screenshots; two trailers; eight bundles; Steam Cloud, Family Sharing and single-player listed; no achievements. The page shows Very Positive (325 reviews, 98% positive).
- 03 Drawquarium customer reviews on Steam — Steam Community
Review snapshots: launch evening (21:30 UTC, November 13) was Very Positive with 100% of 57 Steam-purchaser reviews positive. On November 16 the page showed Very Positive with 98% of 325 Steam-purchaser reviews positive, 359 total including key activations and 6 negative. Reviews describe PNG import, feeding behaviours, cleaning, breeding, moving fish between aquariums, performance and multi-monitor Wallpaper Mode.
Read how we classify evidence in our editorial policy.
Quick status